Its been a busy time since the last post.
Preparing
the coaching set for Christmas starts at the end of the normal season.
One of the
first tasks is to drain the water tanks.
When the tanks are empty the toilets are flushed to empty the cistern,
followed by not the nicest of jobs, cleaning out the pan to make sure that
there is no water left in the bottom.
This is to prevent any frozen pipes if we were to get a sudden
drop in temperatures. If the water in
the toilet pan was to freeze, it would crack the pan and render it useless.
When the
Santa season starts we have to fill the tanks again, once this has been done,
whilst the coaches are stored in the shed, to prevent any frozen pipes we have to put an oil radiator in each coach
vestibule where there is a toilet. On
the RU coach, one radiator goes into the kitchen and one goes underneath the
coach. These all have to be disconnected and removed before each running day, putting them all back again afterwards.
At some
point the coaches have to be shunted into the formation that we use at
Christmas. This usually means the
addition of the first class coach from the dining set, making seven coaches in
total.
So it’s the
morning of the first Santa train and we are all ready to go. The weather has turned, there is a couple of
inches of snow on the ground and the temperatures dipped overnight. All of the snow has to be cleared out from
between the point blades, even the smallest amount will prevent the blade going
fully home, stopping the lock from engaging.
Start the shunt engine up, shunt the seventh coach onto the set,
disconnect the battery chargers, disconnect the radiators, removing them from
the train, check that the catering staff are ready and set off for the station.
One down,
just seventeen more running days to go.
Well we got through it. There was one weekend, after which we had a few repairs to do. A broken door window to replace, a detached arm rest to replace, a sticking brake cylinder to change and finally brakes to adjust on one of the vehicles.
In the Carriage Repair shed.
Bogies, bogies and yet more bogies.
These two commonwealth bogies are the pair that were removed from under the p-way BG vehicle.
One has been lifted using the jacks to remove the axles.
The bearing covers have to be removed to clean out the old grease, before re-filling with fresh grease, fitting a new gasket and replacing the cover.
Steve painting the wheels.
A cleaned bearing before any fresh grease has been applied.
A set of bolster springs awaiting attention.
Steve's favourite job, painting, this time its the springs.
The completed set.
Attention then had to be switched to the p-way mess room / tool van BG. One of the bogies recently fitted became stuck in the horn guides.
The offending bogie was removed, placed under the lifting gantry where one end at a time is lifted to remove the axle.
This is a picture of one of the previous bogies, it shows the horn guides still in place after the axle has been removed. These have to be cut off and if they are still serviceable, be cleaned up and re-fitted.
There are two types of horn guide, this is the one with the cut out for the equalising beam. It has been removed and we are looking at the rear of it. This is the area where rust builds up, forcing the guide outwards, trapping the axle box. This will be cleaned and painted with primer ready for re-fitting.
The other type of guide, without any cutout.
This picture shows the horns on the bogie after having been cleaned up.
This picture shows the refitted guides which are held in place, at the correct distance apart, ready for welding into place. The chalk marks are the welding guides, the book of words says that there should be three welds on each side, approximately two inches long, one at the top, one bottom and one in the middle.
The finished guide with the axle back in place. It did get a coat of black paint afterwards. Just got to repeat it all again for the other axle.
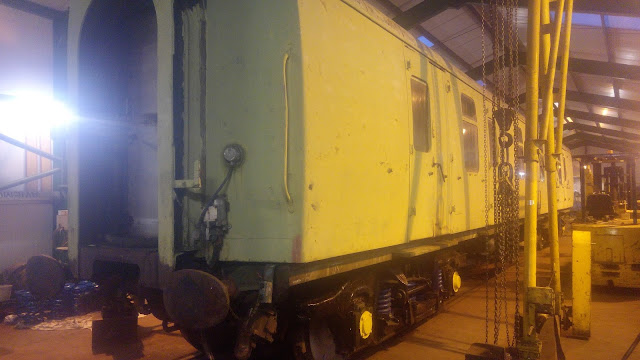
The p-way BG with the bogie back in place, axles now behaving properly, ready to be out shopped.


