
One half of the rear folding doors, which has been fitted in place.

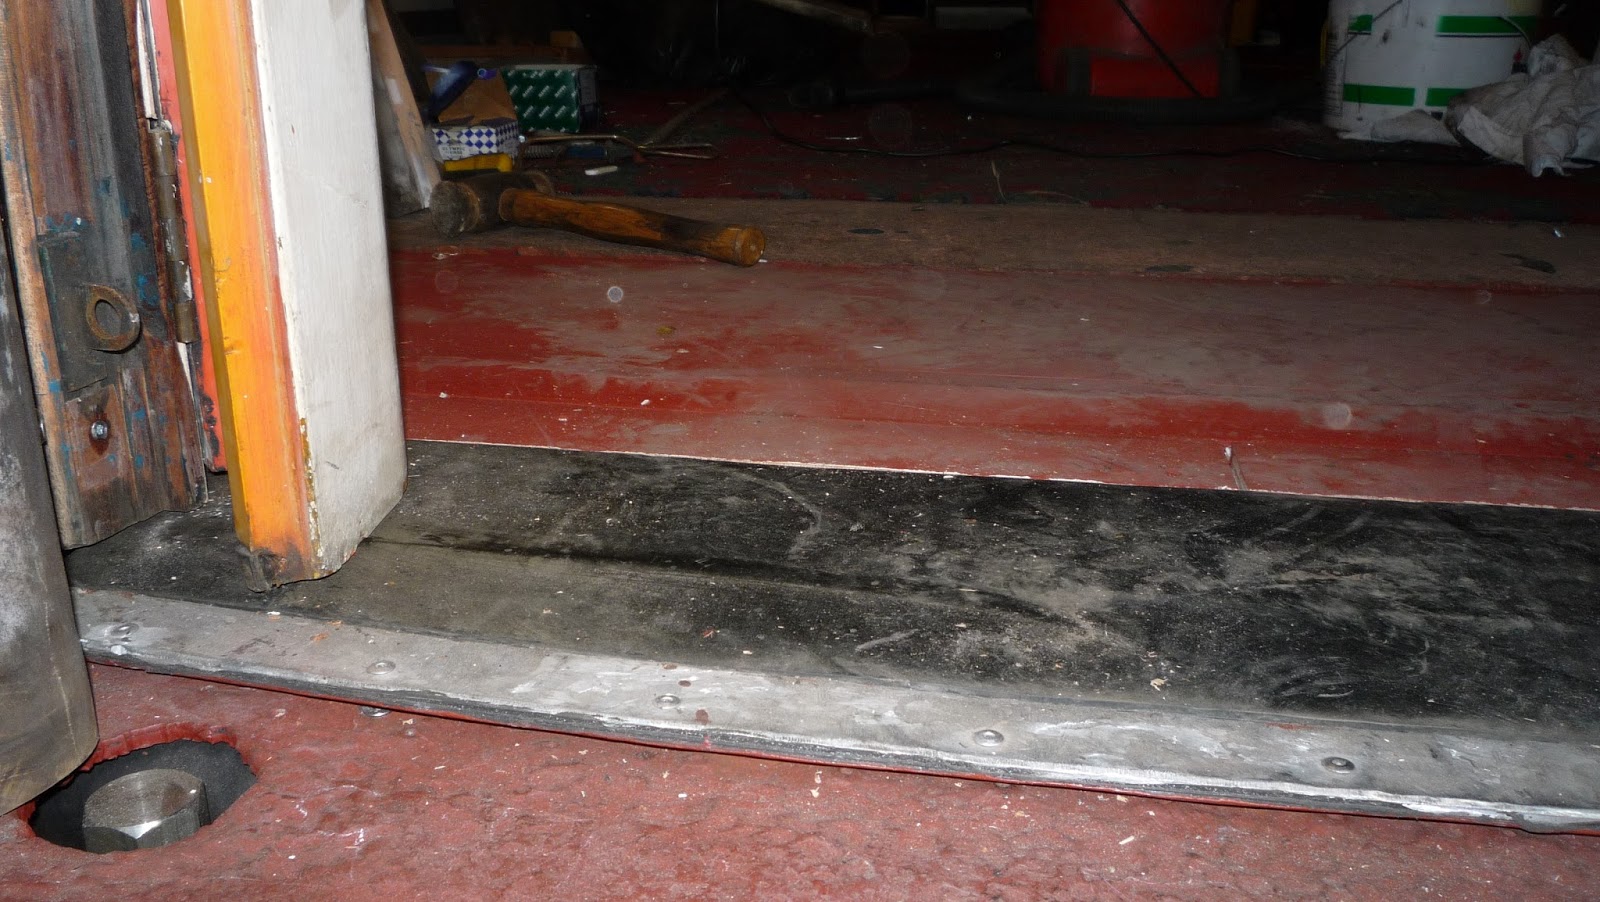
The vestibule step, this proved to be exceptionally difficult as the level of the main floor is slightly higher and required a taper piece to be fitted.

Another view of the vestibule step
Above the entrance the door guide had to be completely rebuilt, even the steel tray holding the wood had rotted through. As can be seen in the picture only one small piece of wood making up the door track was able to be salvaged.

After one step forward it is two steps backwards as problems have been found in the cross corridor floor and door hinge pillars. This has meant that more stripping had to be undertaken.
Here Bennie is working on the door pillars.

Also pictured below cleaning the floor panels of loose rust. The floor consists of the steel corrugated panels seen in the picture, on top of this is placed 6mm thick plywood, a sheet of expanded foam which is topped with another sheet of 6mm ply. This is held down by self tapping screws through the wood and foam, into the steel. The problem is that the whole thing acts like a giant sponge, holding the water and causing rot.

The new panelling in the compartments has been receiving a number of coats of varnish.

Joyce seen here applying the varnish in another compartment. A rare picture because when the camera comes out everyone disappears.

More varnish work, this time the capping strip above the compartment sliding door.

Light fittings have been cleaned and refitted.

In the toilet the plumbing has been completed.

The cross corridor floor awaiting patch repairs to the steel work.

The weed killing wagon
A computerised image of how the finished wagon will look.

One of the drop sides being constructed.

The hinge bands, strengthened and painted ready for fitting.

A completed drop side in position.

The drop side in its open position showing the steel inner lining.

All of the brake block drop links and block holders have been refurbished and refitted.

LMS 27234 Third Open built 1945
Work has started on stripping this vehicle, with all items of upholstery removed and sent to the upholsterer for repair.

I've been giving some thought as to how to replace your 'sponge-like' floor construction.
ReplyDeleteI'm assuming the foam insulation is between 12 and 25mm thick? It presumably provides a lightweight, strong floor sheeting when laid over the profiled metal floor decking, which also provides some thermal insulation. The lower 6mm plywood sheet is there to support the foam, which would otherwise compress and deform as it spans between the ridges of the profiled sheeting, and the top sheet provides a nice smooth surface for fixings. But becuase the three sheets aren't a composite, moisture can collect in the interlayer gaps and cause the plywood to rot, creating more gaps for caplillary action to draw more moisture in. The damp could come from below, but is more likely to be interstitial condensation forming on the cold internal face of the steel, beneath the warmer plywood - the exact point where screws puncture the steel sheeting with the potential to rust.
I don't think you will be able to stop condensation from occurring, as a vapour barrier will also be punctured by any fixings.
Can you replace the plywood? Perhaps not entirely, as that's what you need for the floor, but if you could remove the lower 6mm sheet, and make the top sheet 12mm thick, you would have a wider choice of plywoods, and potentially a marine grade, or WBP, that might resist wet rot better. To do that you could fill the troughs in the steel with dense foam insulation, such as Styrofoam, cut from a sheet into V-shaped strips to fit the profile. This would create a 'flat' surface on which a middle sheet of dense foam insulation could be laid, fully supported. The 12mm plywood flooring would go on top of that, and be fixed by stainless steel screws (still a potential rust spot...).
That might give you a solution that would be less like a sponge, last longer and need less mainternance.
On the other hand, it's only a railway carriage!
Eric
Eric
DeleteThank you for your comments. I think that your solution is a very viable one and we need to look into it carefully. I don't think that condensation is the problem though, as all of the inboard fixings have no corrosion around them at all, in fact the fixing screws inboard usually unscrew without any problem. The problem areas are usually next to entrance doors where water has got into the entrance step and the ends of the coaches where the corridor connection to the next coach is. If the vehicle has spent anytime at either end of a set of coaches during its life, driving rain at speed has also been able to penetrate the floor. As you say its only a railway coach, but to be expected at 48 years old.
Eric
DeleteI should also add that the underside of the floor is completely enclosed, there is a skirt made of thin metal completely covering the underside of the floor. The only exposed areas are as listed above.