Wednesday 26 March 2014

A race against time, the season approaches.

The season approaches, first train is on 27th March with the publicity special.  Its now a race to complete all of the little jobs and put the train together.  i.e. couple the coaches up using the buckeye coupling and not the three link ones that we have been using, connect all the pipes underneath and fit the gangway shields.

 
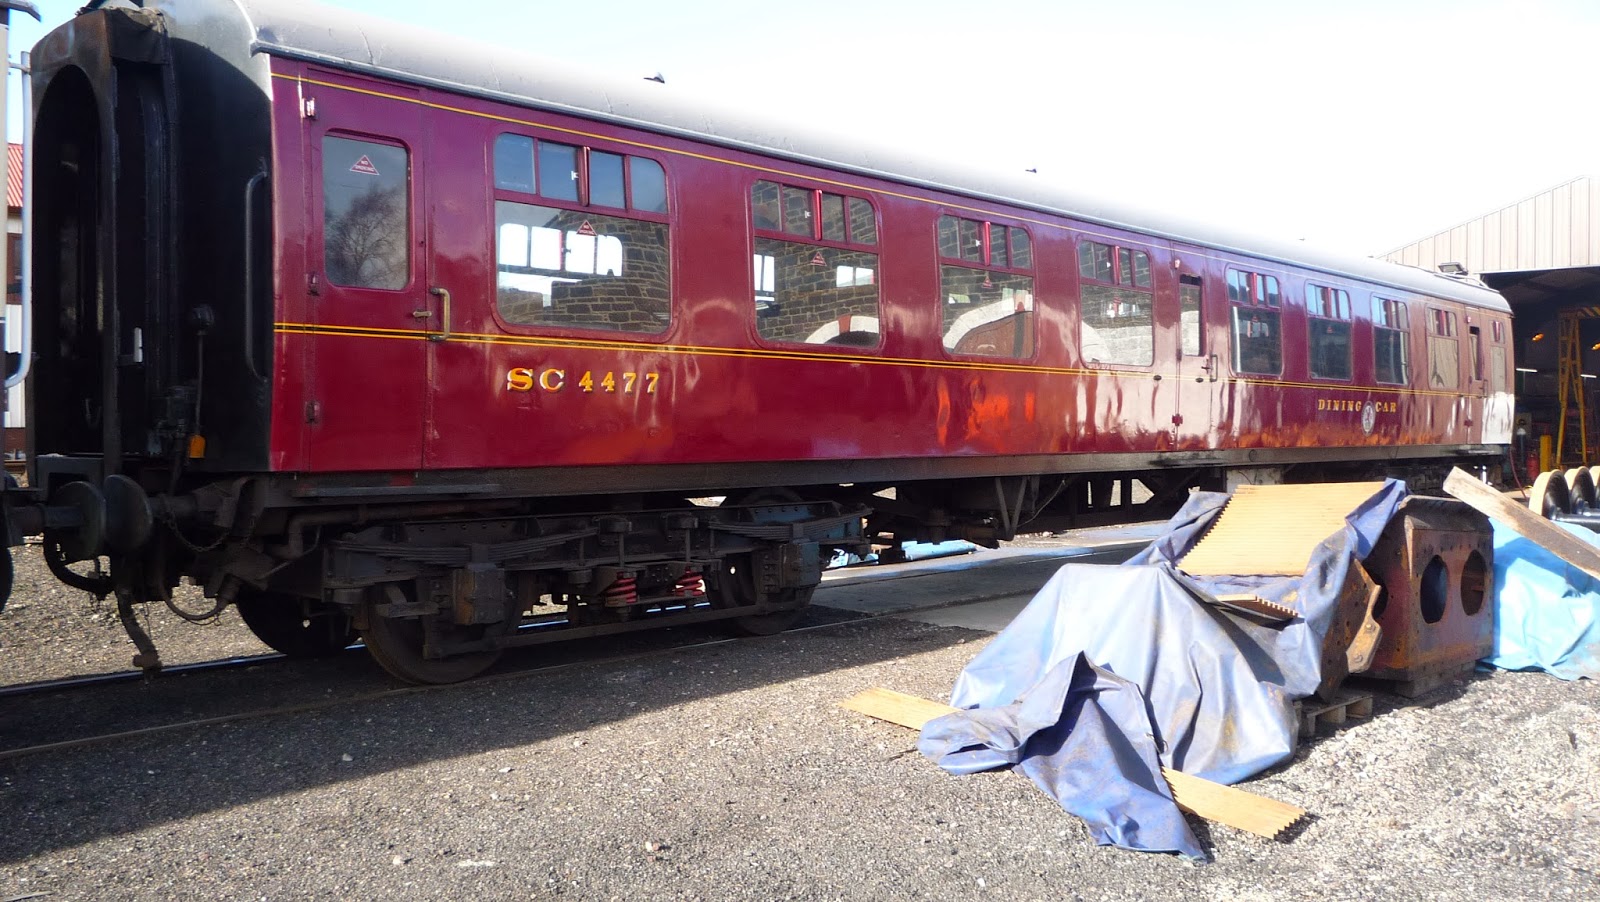
Mark 1 SO, 4477 otherwise known as the diner, has had the vestibule completed.  The bright red lino will soon tone down.

 
Another view from the corridor connection.
 
 
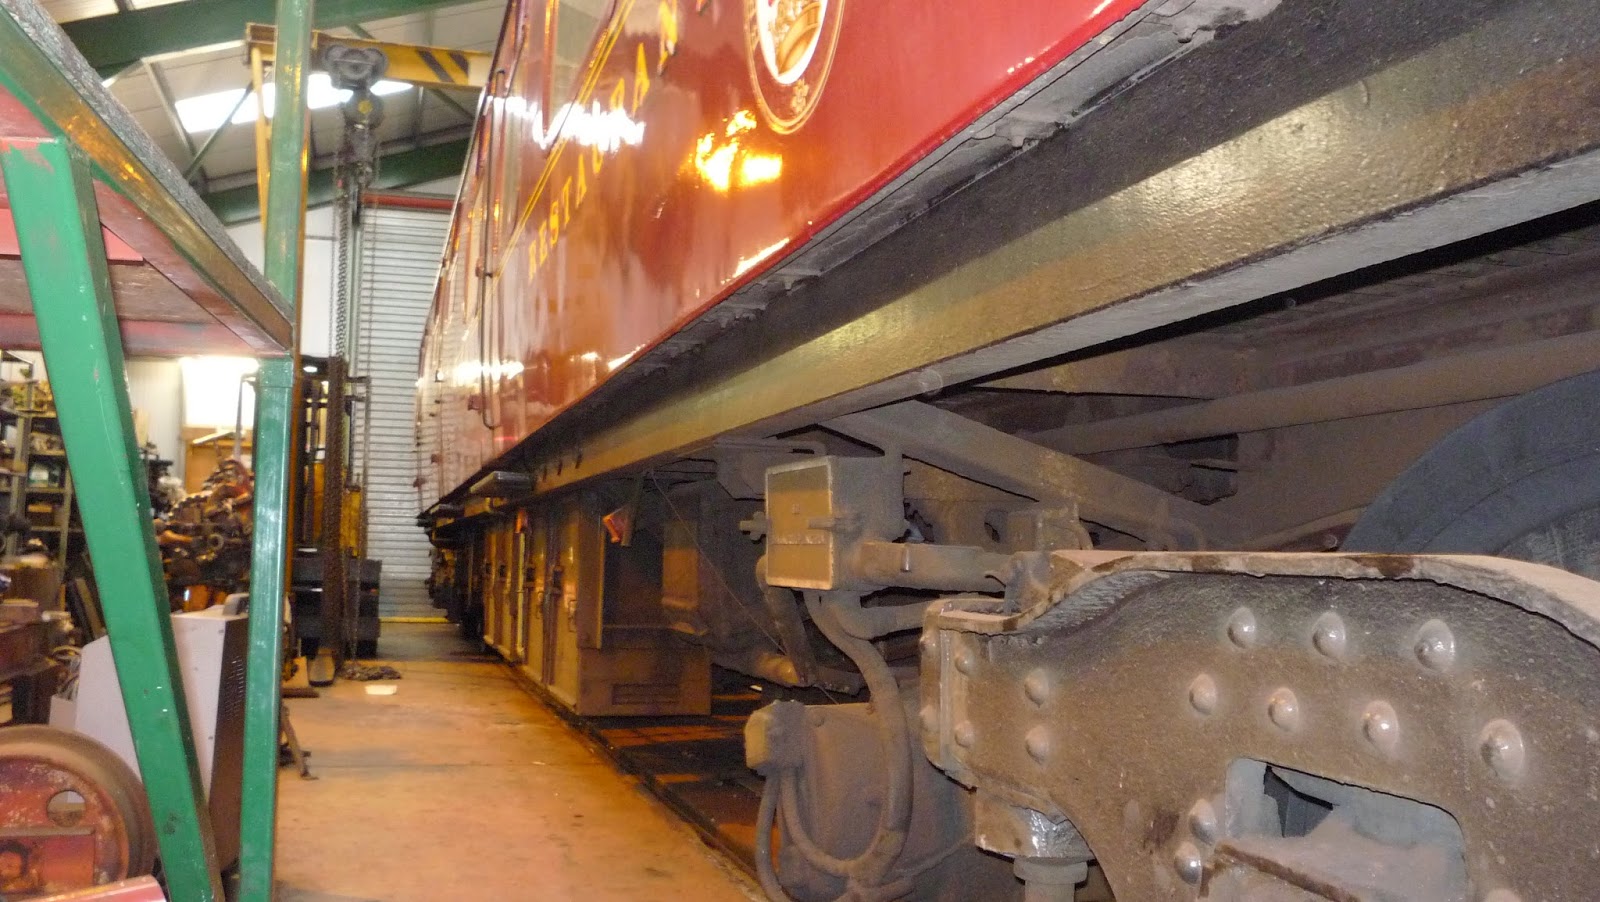
Mark 1 RU, number 1928 came back into the shed to be finished off.
 
 
The gas man arrives.  A mandatory job this time of year is the gas safe certification of the RU and the officers saloon.  Many thanks to Kevin at Claremont catering for once again performing this task.  I am pleased to announce that we passed.
 
 
The saloon end buck eye coupling failed its measurement test and had to be replaced.  This proved to be very hard to remove, pictured here is the retaining pin after it had finally been removed.  That's quite a kink in it.

 
Bill Dodds measuring the gap between the webs on the errant buck eye.
 
 
 This is the works plate from one of the Gresley bogies fitted to the mark 1 RU number 1928.  it states that it was built at Leeds Forge in 1929.  These were fitted by BR when they were trying to stabilise the ride.  There is one school of thought that the bogies were copies built by BR, clearly not.


The first class compartments have all received a new carpet

 
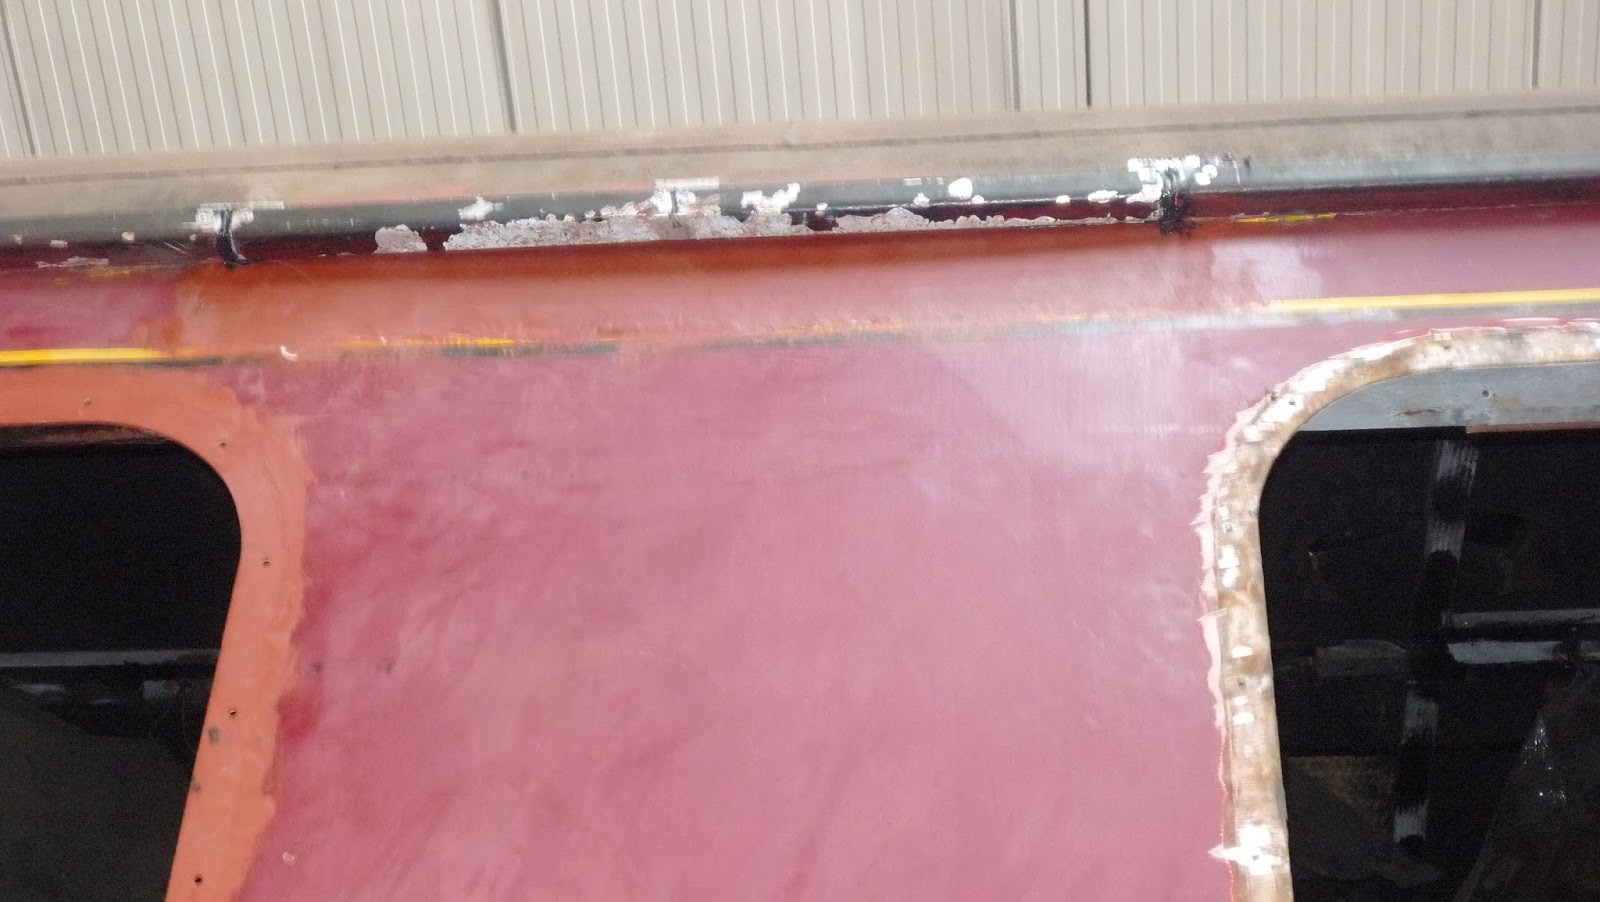
This is the anti guard bolt!  the door runner at the top is fixed to a piece of wooden frame.  This frame has dropped and causes the door to come off its runners if closed.  The repair involves taking the roof down, however with the start of the season imminent, we haven't the time. 
Perhaps anti guard is going too far, its an anti anybody closing it.  To keep the guards happy we have removed their sliding door and greased the runners, it doesn't squeak any more.
 
 
The ground frame that has been in the shed for alterations has been installed.  Here Georgie is taking it to Aviemore North for installation.

 
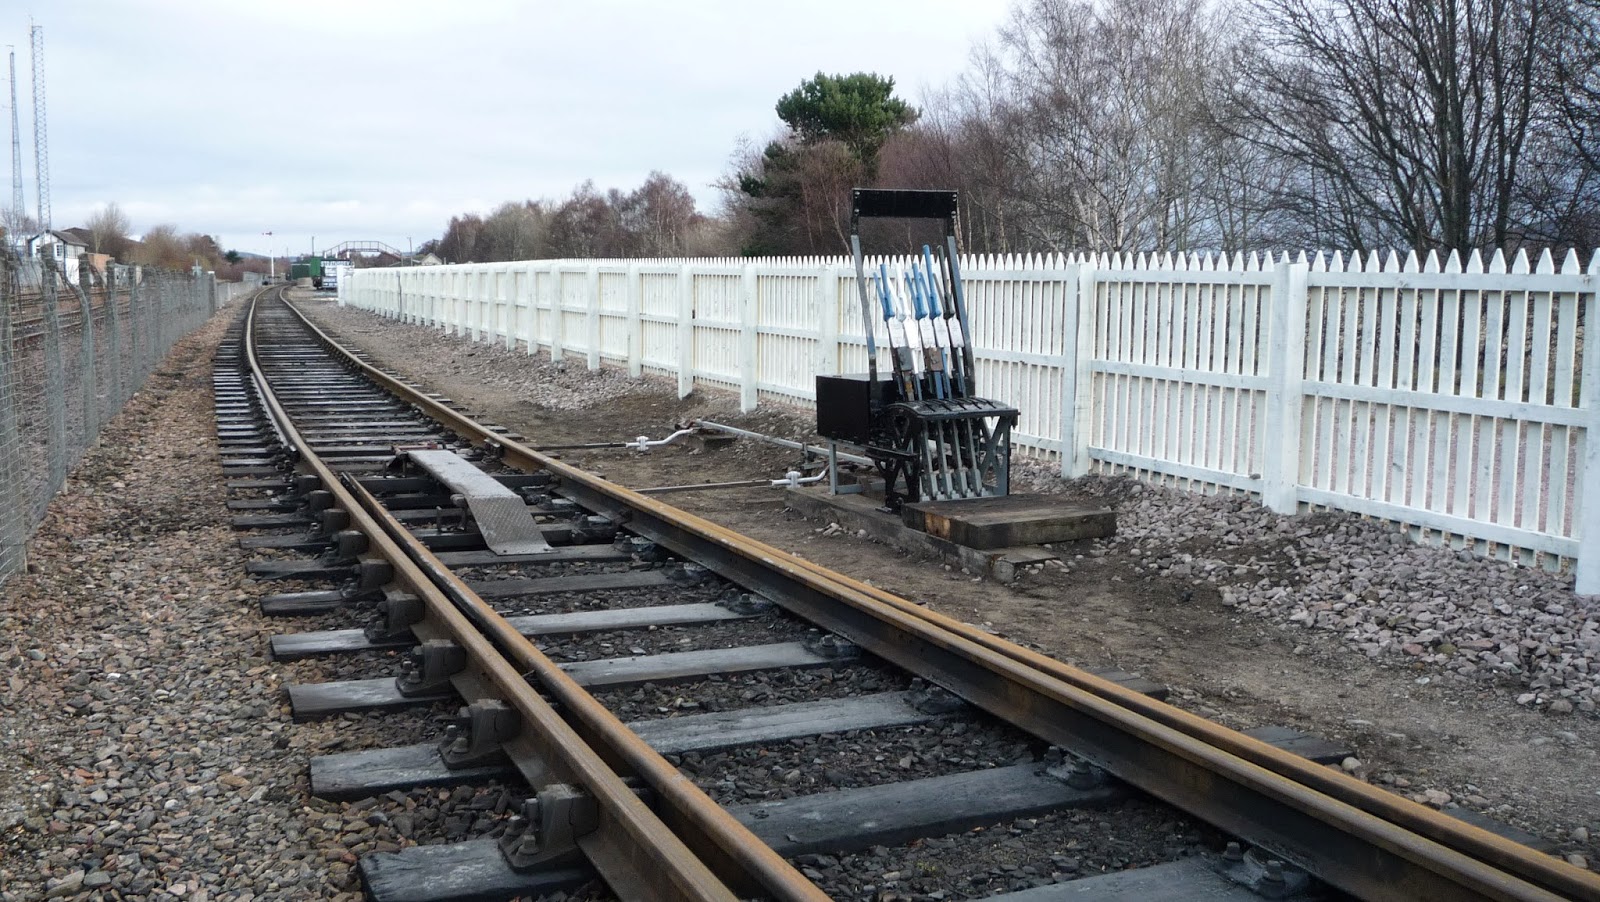
The frame in position
 
A close up view
 

The last shunt
 
Henry taking mark 2 TSO 5149 back to the storage shed.

 
The set arriving back from its deep clean at Boat
 

We start running tomorrow!


Monday 10 March 2014

Winter servicing

At this time of the year we carry out the servicing of the coaches.  One of the jobs that we do is the removal and check of the white metal wheel bearings.  This is probably one of the most oily, messy jobs going.  This sequence of pictures takes you through the process for one axle of mark 1 BFK number 35069
 

The first job is to place a jack underneath the axle box, a piece of hardwood is placed between the jack and the box to spread the load, this stops the jack placing too much pressure onto the cast iron box causing it to break.
 
 
After removing the split pin from the right hand bolt, both bolts are then loosened with a pair of spanners.
 
 
The bolt on the right is then completely removed, allowing the door to swing open on the left hand bolt which is still in situ.  Note the tray to catch any spillage of oil and the bucket to deposit the old oil when it is extracted.

 
The axle box door swung open to reveal the end of the axle.  On the end of the axle you can usually find the axle number stamped into it as well as the year of manufacture.  On these BR1 bogies it is not unusual to find a date of the early fifties.

 
The next job is to remove the oiler pad.  This is a sprung pad which fits up against the axle, it has a number of tails underneath which sit in the oil reservoir in the bottom of the axle box.  These draw up the oil by capillary action and place a small film of oil onto the axle.

 
A side view of the Armstrong oiler, it sits in a metal frame which provides the spring to hold the pad against the axle.  The tails can be seen hanging down.

 
The box is then jacked up until the axle drops away from the bearing.  This then allows the bearing retaining plate to slide out.

 
Removing the bearing retaining plate.

 
Finally the bearing itself is removed.  The use of a tyre lever is to lift the bearing lugs out of their slots and hold it level over the axle.


The bearing face, the shining part is the actual bearing surface, whereas the dark edges are the oil leads, these will be cleaned up and scraped.  Scraping is a process of removing a few thou of metal from the surface. 
The process of axle lubrication is by the Armstrong oiler picking up the oil from the reservoir and placing a thin film on the axle.  This film is then forced between the axle and the bearing when it hits the oil lead in on the bearing, thus the axle rides on a very thin film of oil.
 
All that remains is to clean it all up, change the oil, put it back together again and do the same to the other seven axle boxes.
 
 
The electricians invade the shed on a Friday.  They have been moving the on board smart charger from one of the battery boxes into the Guards compartment.  The reason for this is that over Christmas 35069 struggled to last the day on its one box of batteries, there wasn't any room in the other box to load any more because of the charger being in the way, hence the move to free up space.  Here Paul has loaded a new set of batteries into the now vacant box and is in the process of wiring them up.

 
Electrician Ray at the bench with pieces of metal, lamp supports I'm told.

 
Electrician Bill, spraying every where with sparks.
 
 
Joyce, painting and generally tidying up inside the mark 1 SO, number 4477.
 

Saturday 1 March 2014

Work progresses on 4477 and 17101

BR Mark 1 SO 4477 (The Dining car)
 
Progress continues with the non toilet end vestibule floor replacement.
 
 
The corridor connection floor plate is back in place.


 The end panels have been cut 7" from the floor, firstly to provide a reasonably straight cut line to but the new panel against and secondly to allow room to fit battens (right of picture) to take the panels.


The new panels in position


The metal hoop patched up.


4477 has been pulled out of the shed in order to fill the water tanks and test for leaks


4477 with a big shine on the side in the sunlight.
 
 
The lady responsible for the shine, Kathleen sits waiting patiently for us to finish filling the tank, before she can continue the polishing.  Kathleen also single handed, vacuumed the seats and shampooed half of them. Very camera shy, this is the nearest I could get.
 
 
The vestibule interior


The repair panel with a moulding covering the joint


The radiator which has been shot blasted, painted and re-fitted

 
 Another interior view, awaiting the lino which is on order.
 
 
The new battery box door before fitting


 Now fitted in place
 
 
The new ceiling panels, on the bench in white undercoat.


Ceiling panels now fitted in place and painted with a coat of gloss.  This is the second attempt, I won't mention names and embarrass anyone but, the first attempt put a screw straight through the newly repaired water pipe.
 
 
Wagon 742058 being out shopped following floor and side board repairs.


Steve driving the 08, shunting the wagon.

BR Mark 2 BFK

 
The vestibule face plate having been cleaned up.  It will now have steel plates welded to the far side in place of the Ferodo rubbing plates.  Ferodo is now very expensive, we had been quoted many hundreds of pounds just for one sheet.  This material was fitted by BR half way along the mark 1 production to eliminate squealing when the face plate rubbed with its neighbour at high speed.  This isn't relevant for our railway and so the cheaper steel plate option.

 
The end structure with the horizontal supports in place


Floor repairs, the angle irons replace the corroded corrugation and will carry the new floor ply wood.


Main pillar repairs


More floor repair views


The fibre glass end cap, some work has been carried out revealing a coat of BR corporate Blue paint.

 
Roof drip mould repaired and replaced, now awaits the sealing solution cleaning up and a coat of paint.
 
 
This is a compartment with the plywood floor removed, this reveals the steel corrugation underneath.

 
Compartment roof panels replaced

 
This and the picture below show the head scratching that takes place when you look up into the tangle of wires and pipes in the roof space.

 
Looking up through the open space left where the fibre glass dome fits.

 
Looking down onto the floor repairs